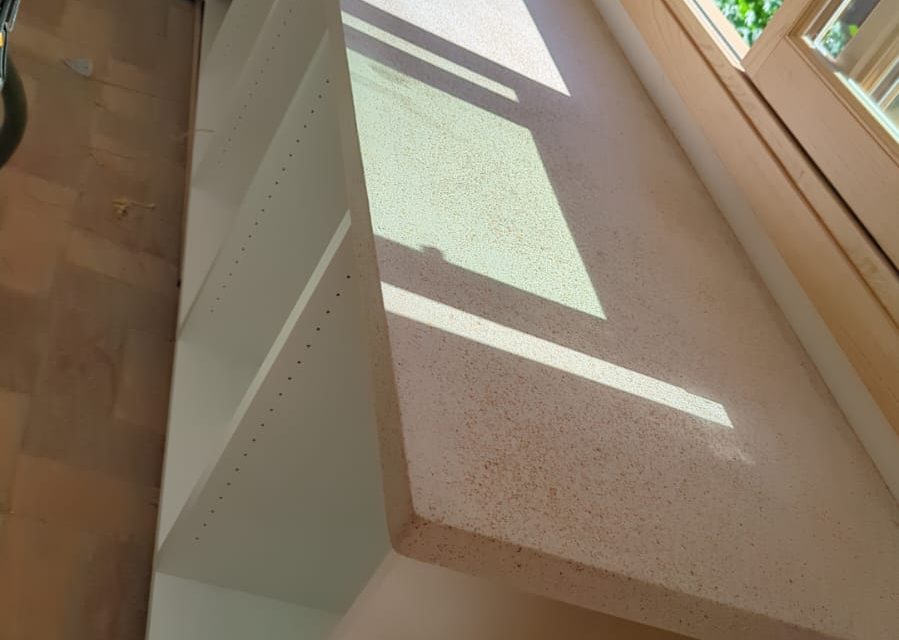
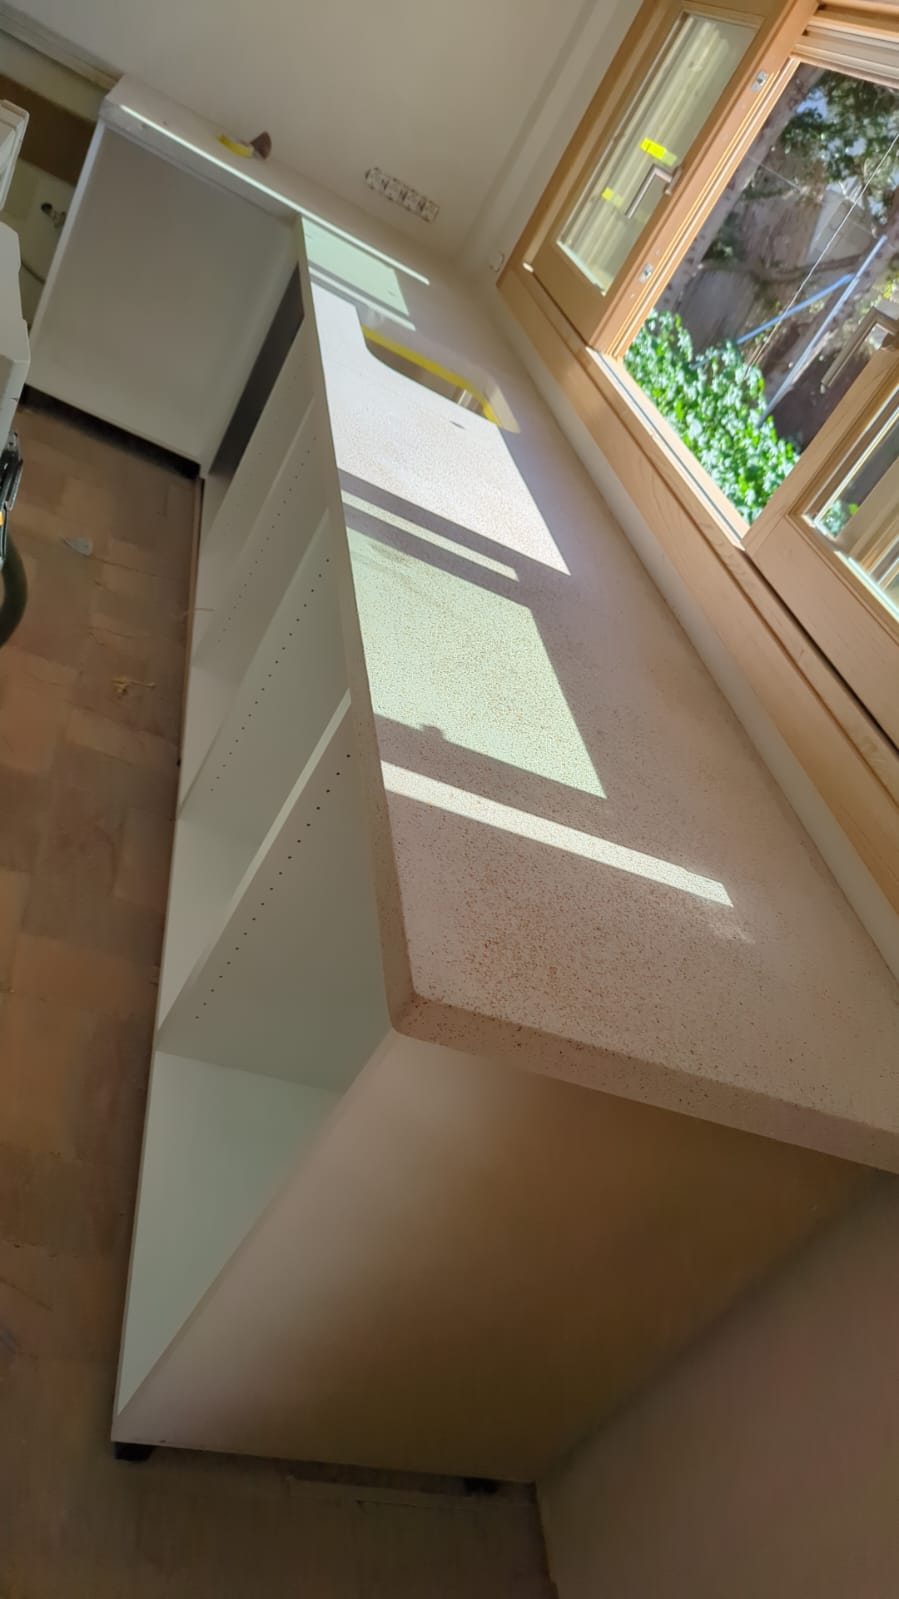
Are you looking to add a unique and modern touch to your kitchen? A polished Diathonite countertop might be just what you’re looking for. In this step-by-step guide, we will walk you through the process of creating your very own Diathonite kitchen countertop. From understanding the basics to installing and maintaining the finished product, we’ve got you covered.
UNDERSTANDING THE BASICS OF DIATHONITE COUNTERTOPS
Concrete countertops have gained popularity in recent years due to their unique combination of durability and aesthetic appeal. However Diathonite countertops take things to the next level. Before diving into the nitty-gritty details, let’s take a moment to explore the benefits of Diathonite countertops.
First and foremost, Diathonite is highly durable, making it an excellent choice for countertops that will see moderate daily use. Unlike other materials, such as laminate or wood, Diathonite can withstand the wear and tear of a busy kitchen without showing signs of damage.
Another advantage of Diathonite countertops is their moderate resistance to heat. This makes them ideal for avid cooks who frequently place hot pots and pans directly on the surface (although this is not recommended).
In addition to their practical benefits, Diathonite countertops also offer a sleek, natural industrial look that can complement a variety of kitchen styles. Whether you prefer a modern, minimalist design or a rustic, farmhouse aesthetic, Diathonite can be customized to suit your taste.
However, it’s important to consider potential drawbacks as well. Diathonite countertops can be prone to cracking if not properly sealed or installed. To prevent this, it’s crucial to hire a professional who specializes in Diathonite countertop installation and ensure that the surface is adequately sealed to protect against moisture and other potential sources of damage.
Furthermore, Diathonite countertops require regular maintenance to keep them looking their best. This includes periodic resealing to maintain their resistance to stains and scratches. With proper care, though, these countertops can last for many years to come, making them a worthwhile investment for homeowners.
In conclusion, Diathonite countertops offer a durable and stylish option for kitchen surfaces. Their ability to withstand moderate daily use, resistance to heat, and customizable design make them a popular choice among homeowners. However, it’s important to be aware of the potential for cracking (which is easy to repair as it’s a natural material) and the need for regular maintenance to ensure their longevity. With the right precautions and care, Diathonite countertops can be a beautiful and long-lasting addition to any kitchen.
GATHERING YOUR MATERIALS
Before you get started on your exciting project, it’s essential to gather all the necessary tools and materials. Having everything prepared and within reach will ensure a smooth and efficient process. Let’s take a closer look at some of the key items you’ll need:
Diathonite mix: The foundation of your project, Diathonite mix is a combination of cork, lime and clay. It provides the strength and durability needed for your creation.
Water: A crucial ingredient in the Diathonite mix, water activates the cement and allows it to harden. Be sure to have a sufficient amount of water on hand.
Diathonite sealer: Once your project is complete, applying a Diathonite sealer will protect it from moisture, stains, and other potential damage. It also enhances the appearance of the finished product.
Trowels (both flat and curved): Trowels are essential tools for shaping and smoothing the Diathonite. A flat trowel is ideal for spreading and leveling the mix, while a curved trowel is perfect for creating rounded edges and curves.
Rubber gloves and safety goggles: Safety should always be a priority when working with Diathonite. Rubber gloves protect your hands from the alkaline nature of the mix, while safety goggles shield your eyes from any potential splashes or debris.
By ensuring that you have all these items ready before you begin, you’ll be well-prepared to embark on your Diathonite project. Remember, attention to detail and proper preparation will contribute to the success and longevity of your creation. So gather your materials, put on your gloves and goggles, and let your creativity flow!
PREPARING YOUR KITCHEN SPACE
Before diving into the Diathonite countertop construction, it’s important to take some safety measures and prepare your kitchen space properly. First and foremost, make sure to wear appropriate safety gear, such as gloves and goggles, to protect yourself throughout the process.
Diathonite countertop construction can be a messy task, so it’s crucial to set up your workspace in a way that minimizes the potential for damage. Clear out any items from your countertops, including appliances, dishes, and utensils. This will not only provide you with enough room to manoeuvre, but it will also prevent any accidental damage to your belongings.
Once your countertops are clear, it’s time to protect the surrounding areas. Diathonite can be a messy material to work with, and spills or splatters are inevitable. To avoid any permanent stains or damage, cover the surrounding areas with plastic or drop cloths. This will ensure that any accidental spills or splatters can be easily cleaned up without causing any harm to your kitchen surfaces.
Additionally, consider covering your floors with protective materials, such as cardboard or old sheets, to prevent any Diathonite residue from staining or damaging your flooring. It’s always better to be safe than sorry when it comes to protecting your kitchen space during a construction project.
Creating a designated work area within your kitchen can also help streamline the construction process. Set up a sturdy table or workbench where you can mix and pour the Diathonite, as well as a separate area for curing and finishing the countertops. This will not only keep your workspace organized but also help prevent any potential accidents or mishaps.
Lastly, ensure that you have all the necessary tools and materials readily available before you begin. This includes Diathonite mix, reinforcement materials, measuring tools, trowels, and any other equipment specific to your chosen countertop design. Having everything within reach will save you time and effort, allowing for a smoother construction process.
BUILDING THE COUNTERTOP MOLD
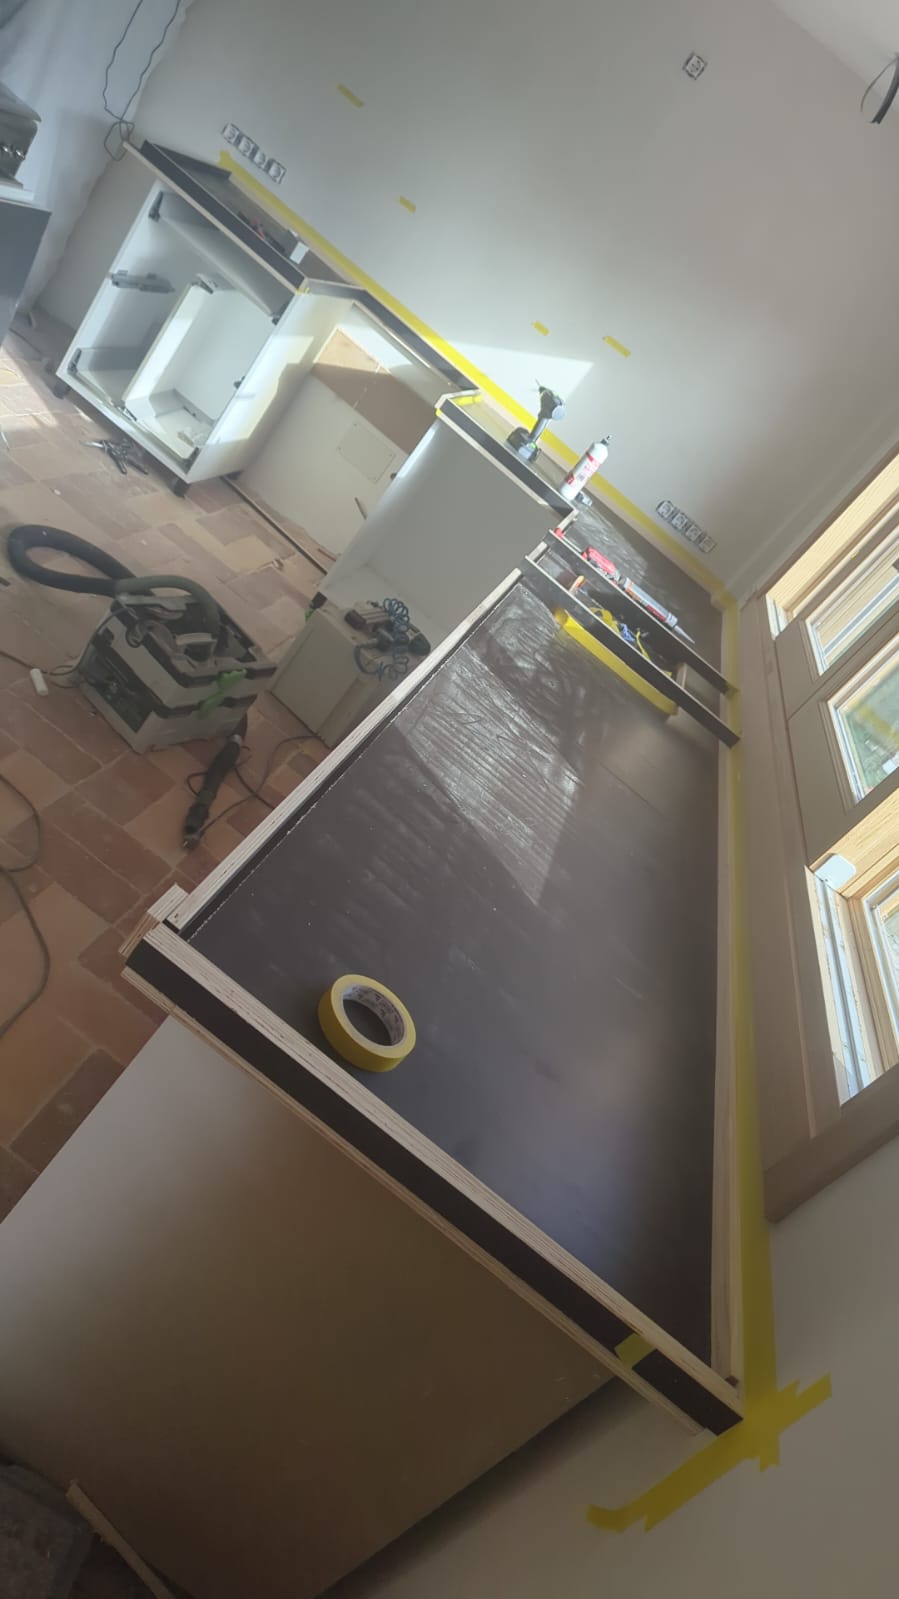
To create your Diathonite countertop, you’ll need to start by building a mold. The size and shape of your mold will depend on your specific kitchen layout and personal preferences.
Measure and mark the desired size of your countertop on a flat surface. This step is crucial as it determines the dimensions of your countertop, ensuring a perfect fit in your kitchen. Take into consideration the length, width, and thickness of the countertop, keeping in mind any overhangs or special features you may want to incorporate.
Once you have determined the dimensions, it’s time to assemble the mold. Using water resistant MDF 18mm thick, cut the pieces according to your measurements. Ensure that the boards are smooth and free from any imperfections that could transfer to the Diathonite surface. To avoid cracking the base must be able to support 250kg per M2.
Next, secure the corners of the mold using screws or any other appropriate fasteners. This step is essential to ensure that the mold remains sturdy and holds its shape during the pouring and curing process. Take extra care to align the corners perfectly, as any misalignment can result in an uneven countertop.
Before proceeding, it’s important to check that the mold is level. Use a spirit level to ensure that all sides are perfectly horizontal. A level mold will help you achieve a level countertop, preventing any unevenness or sloping once the Diathonite is poured.
Once you have confirmed that the mold is level and sturdy, you are ready to move forward with the next steps of creating your Diathonite countertop. The mold serves as the foundation for your countertop, providing the structure and shape that will be filled with Diathonite.
MIXING AND POURING THE DIATHONITE
Now comes the fun part – mixing and pouring the Diathonite. Start by carefully following the instructions on the Diathonite mix to achieve the perfect consistency. Properly mixing the Diathonite is crucial for the countertop’s strength and durability.
When it comes to mixing the Diathonite, there are a few important factors to consider. First, make sure you have all the necessary tools and materials ready. This includes a mixing container, a mixing paddle or drill attachment, and of course, the Diathonite mix itself. It’s also a good idea to have a water source nearby, as you may need to add water to the mix to achieve the desired consistency.
Once you have everything prepared, begin by pouring the appropriate amount of Diathonite mix into the mixing container. It’s important to measure the mix accurately to ensure the right proportions. Then, slowly add water to the mix while stirring continuously. The amount of water needed may vary so refer to the Diathonite instructions for guidance.
As you mix the Diathonite, pay close attention to its consistency. You want it to be thick enough to hold its shape but not too dry or too wet. Aim for a texture similar to that of cement. If the mix is too dry, add small amounts of water gradually until you reach the desired consistency. On the other hand, if the mix is too wet, add small amounts of dry mix until it thickens up.
Once the Diathonite mix is ready, it’s time to pour it into the mold. Carefully position the mold on a flat surface and ensure it is level. This will help ensure an even distribution of the Diathonite and prevent any unevenness in the finished countertop.
Slowly pour the Diathonite mix into the mold, starting from one corner and working your way across. Use a trowel or a similar tool to spread the mix evenly and fill any gaps or voids. Take your time and work methodically to achieve a smooth and consistent finish.
As you pour the Diathonite, it’s important to eliminate any air bubbles that may have formed. This can be done by using a combination of trowels and vibration techniques. Gently tap the sides of the mold with a rubber mallet or use a vibrating tool to help release any trapped air. This will ensure that the countertop is solid and free from any weak spots.
Remember, patience is key when pouring Diathonite. Take your time and work slowly to ensure the best results. Once the Diathonite is poured, allow it to cure according to the instructions provided with the Diathonite mix. This will typically involve covering the mold with plastic and allowing it to sit undisturbed for a certain period of time.
So, enjoy the process of mixing and pouring the Diathonite for your countertop. It’s a crucial step in creating a durable and beautiful surface that will last for years to come.
CURING AND FINISHING THE COUNTERTOP
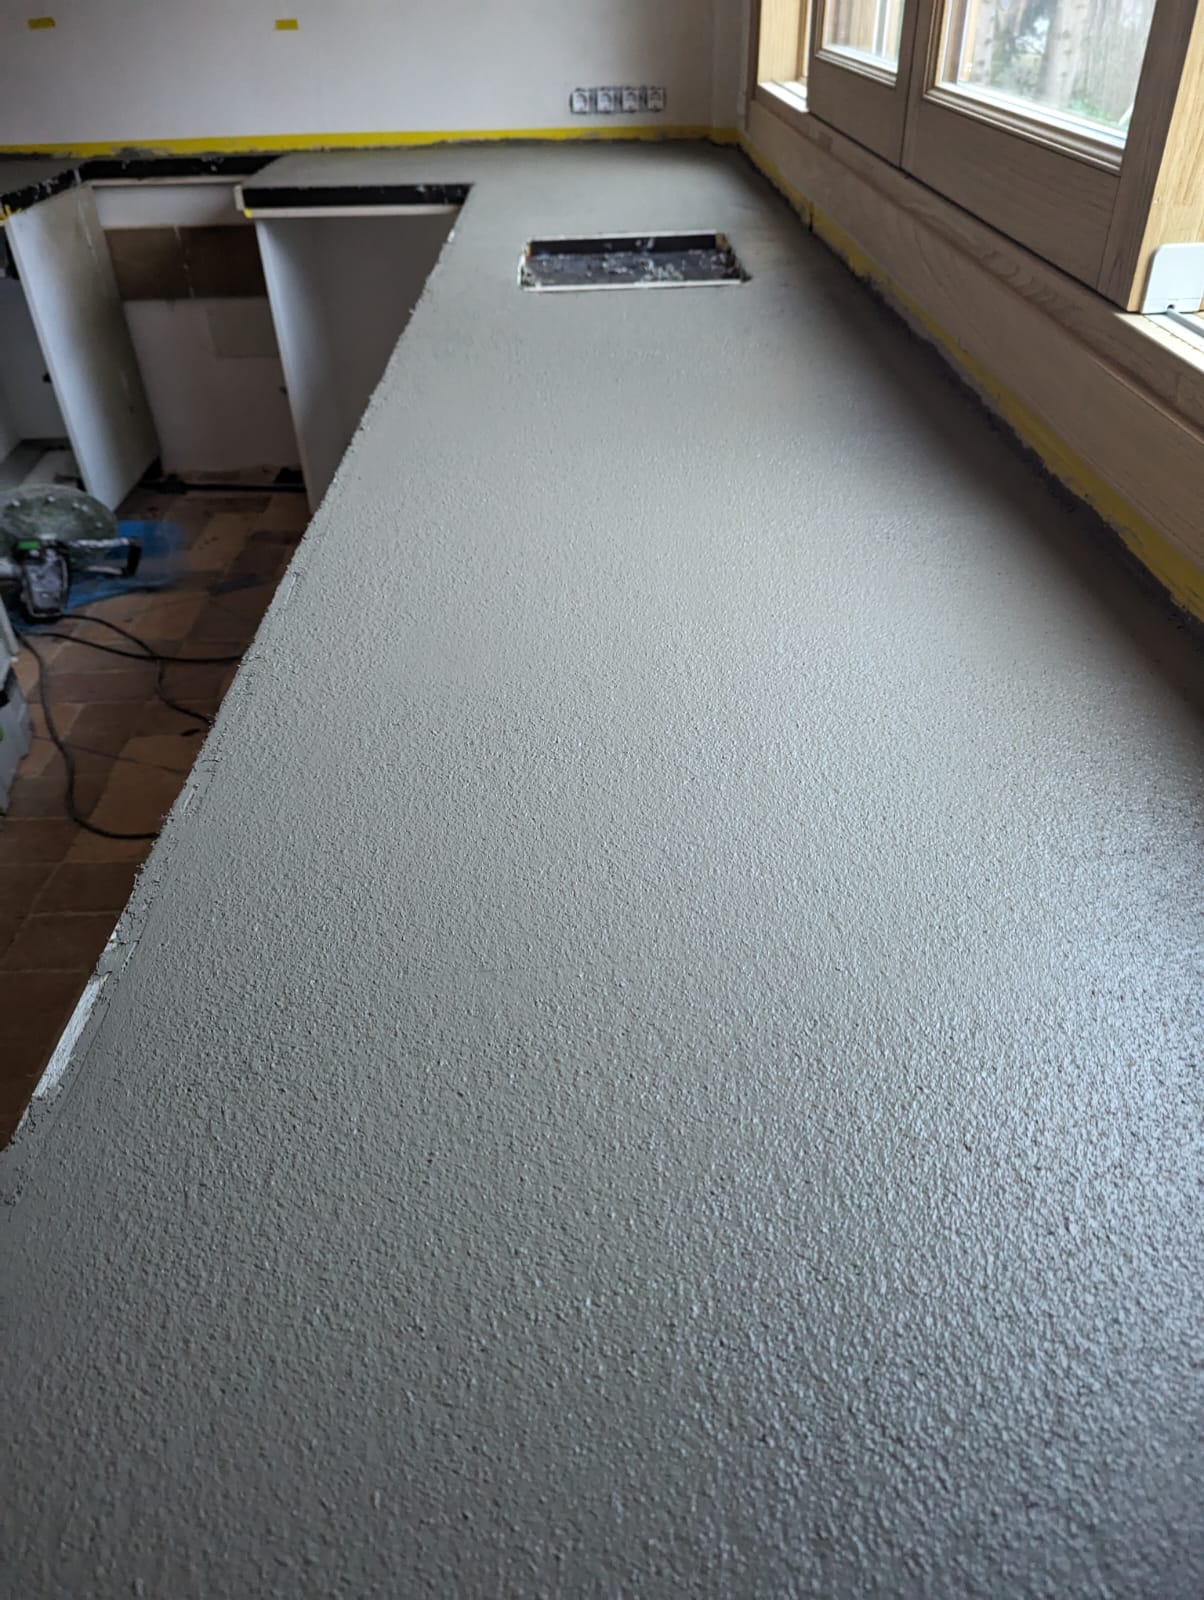
After pouring the Diathonite, it’s time to let it cure. Proper curing is essential for the countertop to gain strength and reach its full potential. Follow the curing instructions provided with your Diathonite mix, which typically involve covering the countertop with plastic and allowing it to cure for four weeks.
During the curing process, the chemical reactions within the Diathonite continue, resulting in the hardening and strengthening of the material. It is crucial to maintain a consistent temperature and humidity level during this time to ensure optimal curing. This can be achieved by using a curing blanket or by misting the countertop with water every day for three weeks depending on humidity sensor readings and keeping it covered with plastic.
As the Diathonite cures, it undergoes a transformation, gradually developing its characteristic durability and resilience. The curing period can vary depending on many factors and we often grind the surface very slightly to release surface tension depending on ambient temperature, and humidity levels. It is important to follow the recommended curing time to allow the countertop to achieve its maximum strength.
Once the curing process is complete, it’s time to move on to the next step: sanding and sealing the countertop. This stage is essential for achieving a smooth and polished surface that not only looks visually appealing but also enhances the durability of the countertop.
To begin, ensure that the Diathonite is completely dry, carefully inspect the countertop for any rough edges or imperfections (these should be patched, this is very easy with Diathonite as it’s a natural material and minor cracking is normal when dried to quickly. Using a mechanical sander, gently sand down these areas, working gradually to achieve a smooth and even surface. Pay attention to detail, ensuring that all edges are properly smoothed out and any visible imperfections are addressed. We recommend starting at ~60 grit working up to 180 grit.
After sanding, it is crucial to remove any dust or debris from the countertop before proceeding with the sealing process. This can be done by using a vacuum cleaner or a damp cloth to wipe away any residue.
Now comes the exciting part – applying the Diathonite sealer. A Diathonite sealer not only protects the countertop from stains but also enhances its longevity by providing a barrier against moisture and other potential damages.
Before applying the sealer, ensure that the countertop is completely dry and free from any moisture. This will ensure proper adhesion and effectiveness of the sealer. Use a brush or roller to evenly apply the sealer, working in small sections at a time. Allow the sealer to dry completely before applying additional coats. We recommend three coats.
Once the sealer has dried, take a moment to admire the transformation of your countertop. The curing and finishing process has not only enhanced its appearance but also increased its durability, making it ready to withstand the demands of daily use.
MAINTAINING YOUR DIATHONITE COUNTERTOP
Congratulations! You now have a beautiful Diathonite kitchen countertop that can be enjoyed for years to come. However, it’s essential to keep up with proper maintenance to preserve its appearance and durability.
Regular cleaning is key to maintaining a Diathonite countertop. Use a mild soap and warm water to clean the surface, avoiding abrasive cleaners that can cause damage. Wipe up any spills or stains immediately to prevent them from seeping into the Diathonite.
Additionally, consider periodically resealing your countertop to ensure ongoing protection.
When it comes to resealing, it’s important to only use a Diathonite sealeryou’re your countertop.
In addition to regular cleaning and resealing, it’s important to take preventive measures to protect your Diathonite countertop. Avoid placing hot pots or pans directly on the surface, as extreme heat can cause the Diathonite sealer to discolour. Always use trivets or hot pads to provide a barrier between the countertop and hot objects.
Furthermore, be cautious when using sharp objects on the countertop. While Diathonite is a durable material, it can still be susceptible to scratching. To prevent scratches, use cutting boards or mats when chopping or slicing food.
Lastly, consider the overall design and style of your kitchen when maintaining your Diathonite countertop. Regularly inspect the countertop for any signs of wear or damage, such as cracks or chips. If you notice any issues, address them promptly to prevent further damage and ensure the longevity of your countertop.
With this comprehensive guide, you now have the knowledge and confidence to not only create your own Diathonite kitchen countertop but also maintain it effectively. Enjoy the process and the satisfaction of crafting a unique and stylish addition to your home. Happy countertop construction!

